

Veteran Owned
Since 1997
Since 1997
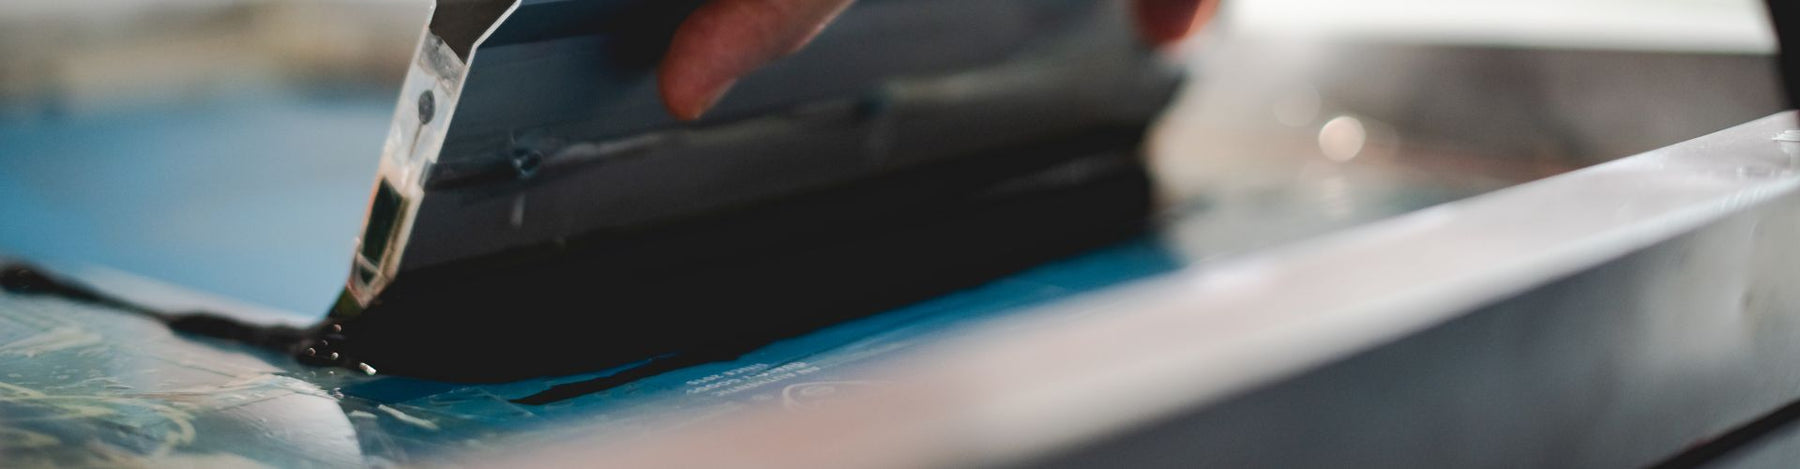
Coating your screens with emulsion can be a tricky part of the screen printing process, but it’s not impossible by any means; just keep these guidelines in mind and you’ll be coating screens like a pro in no time. The process can be referred to either as “coating a screen” or “making a stencil”. You can find more information on emulsions and the brands we carry here on our website. Be sure to mix and store your emulsion(s) according to the manufacturers directions. Before you start coating your screen, make sure it’s been properly degreased and dried and is free of any contamination. Next, take your scoop coater; which should be cleaned after each use, and fill it approximately three-fourths of the way full of emulsion. Pro tip, if you start to notice prominent or random lines being formed on your screens when coating them, most likely the edge of your scoop coater is damaged; therefore, it’s imperative that you take care of your scoop coater to ensure proper coating of your screens.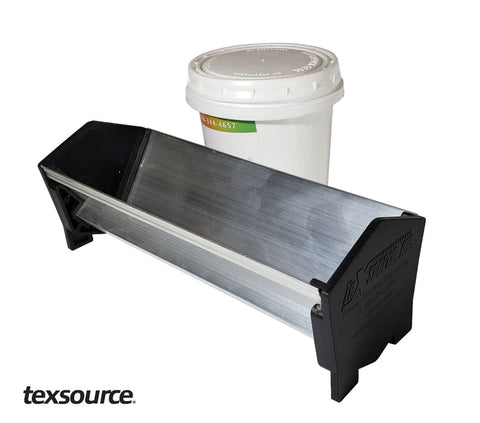
a scoop coater is a necessary shop accessory for proper screen coating
Now, there are a couple of techniques to use when coating your screen, one is by using both hands which means you need to secure your screen in an upright position, or alternatively you can hold it up with one hand and coat with the other; just be sure to coat with the hand you write with. When coating, ensure that you get even coats, as thick or thin places can cause problems when exposing your screens. If you don’t have enough emulsion (thin places) your image will expose faster (overexposure) causing it to not wash out. Thick places (too much emulsion) will not expose as quickly (underexposure) causing the image to break down and wash out. After you’ve coated your screen, put it in your drying rack print-side down and allow it to fully cure. Here are a few tips for this stage in the process; if you don’t have a drying cabinet, and only have a drying rack, coat your screens before you go home for the day, leaving them to dry overnight. Also, a dehumidifier or space heater (not exceeding 110 degrees) in your drying space will help your screens dry more efficiently.
When you’re ready to expose your screen, make sure it’s dry to the touch. There are several different coating methods you can go with; the most common being the 1 & 1 method. For this method, apply one coat of emulsion on print side, rotate 180 degrees and apply one coat to the squeegee side. Lay flat to dry. The 2 & 2 method is good for athletic printing as it creates a thicker stencil by coating twice on the print side, then twice on the squeegee side, wet on wet. After each coat, rotate 180 degrees. This method requires a longer dry time and exposure time. Finally, the 3 & 3 method produces the sharpest edges and thickest stencil; start with the 2 & 2 method mentioned above, then put an additional coat on the print side and dry. As with anything worth doing, putting in the proper preparation when coating your screens and working with emulsion will ensure you produce quality work that you can be proud of. I hope you found this article helpful when dealing with emulsions.
Leave a comment